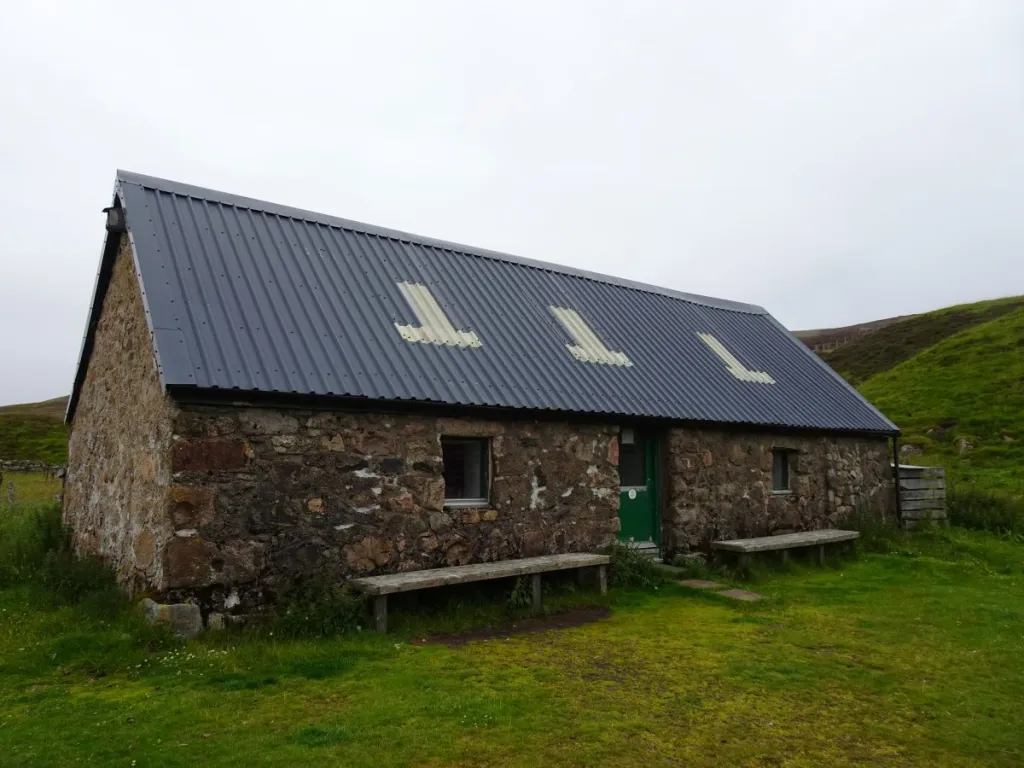
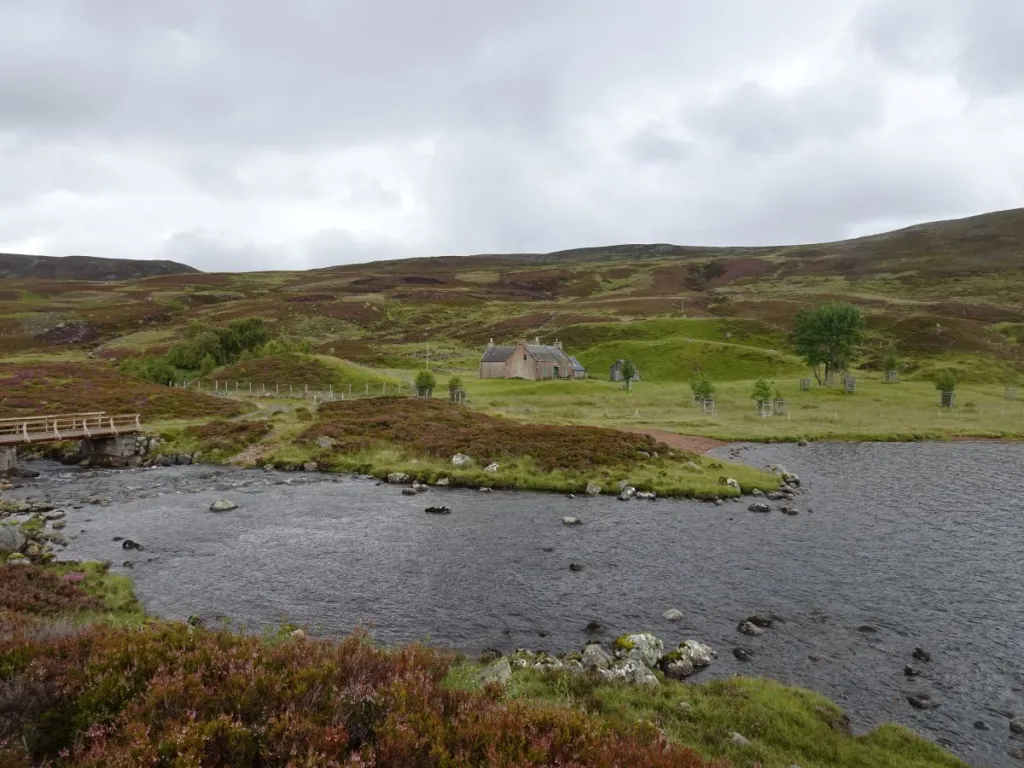
There are a small number of Munros to the south-east of Braemar that, for reasons which I can no longer recall, we didn’t include on our extensive Munro-bagging trip to the Cairngorms National Park in July 2021. Tolmount and Tom Buidhe are two of them. Whilst it’s possible to do the two in a (long) day, we decided to break up this route with an overnight stop at Callater Stables – a roomy bothy on the western shore of Loch Callater.
We left Edinburgh mid-afternoon on a Sunday, and pulled into the small car park at Auchallater a couple of hours later. Whether you split the route as we did, or do it one go, this is the easy bit: 5km along Jock’s Road, a dirt track which runs alongside Callater Burn to Loch Callater. Enjoy it while it lasts, as navigation gets more… interesting, shall we say, up on the plateau.
We’d figured the bothy would be quieter on a Sunday night, but hadn’t anticipated having it entirely to ourselves. An early night was on the cards, as there was almost 25km to cover in the morning.
This time, it was damp and dreich. While the weather gods may not have delivered our preferred conditions, this route did have a treat in store for us.
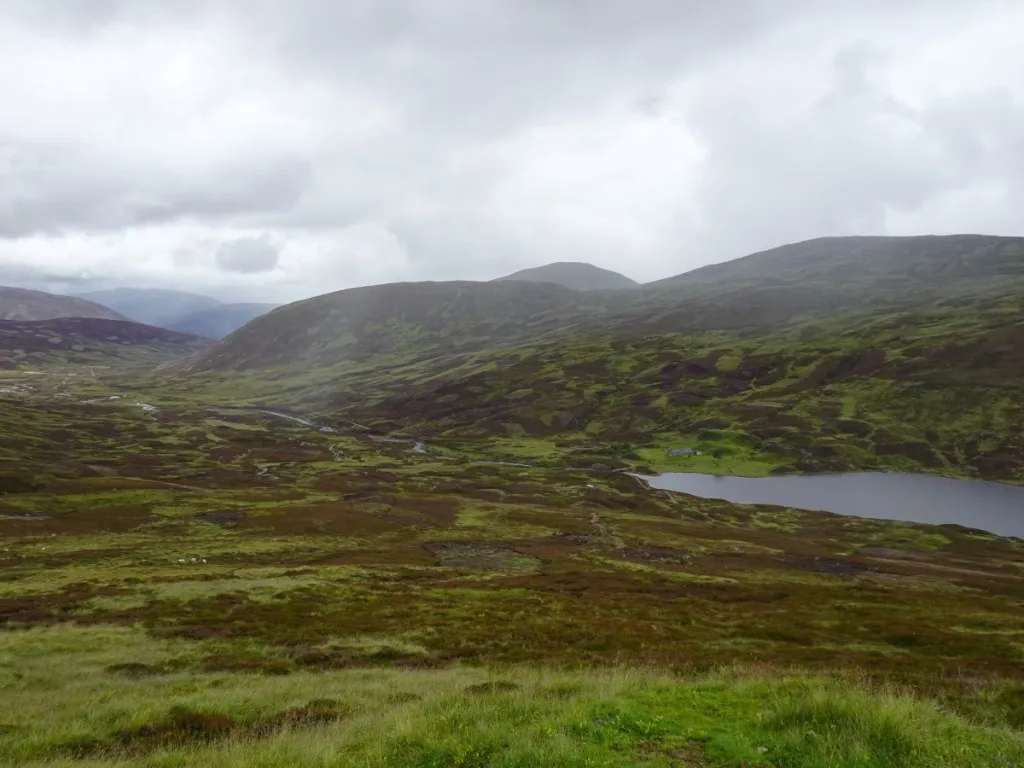
We left Callater Stables behind just shy of 07.00. Loch Callater was still, almost eerily so.
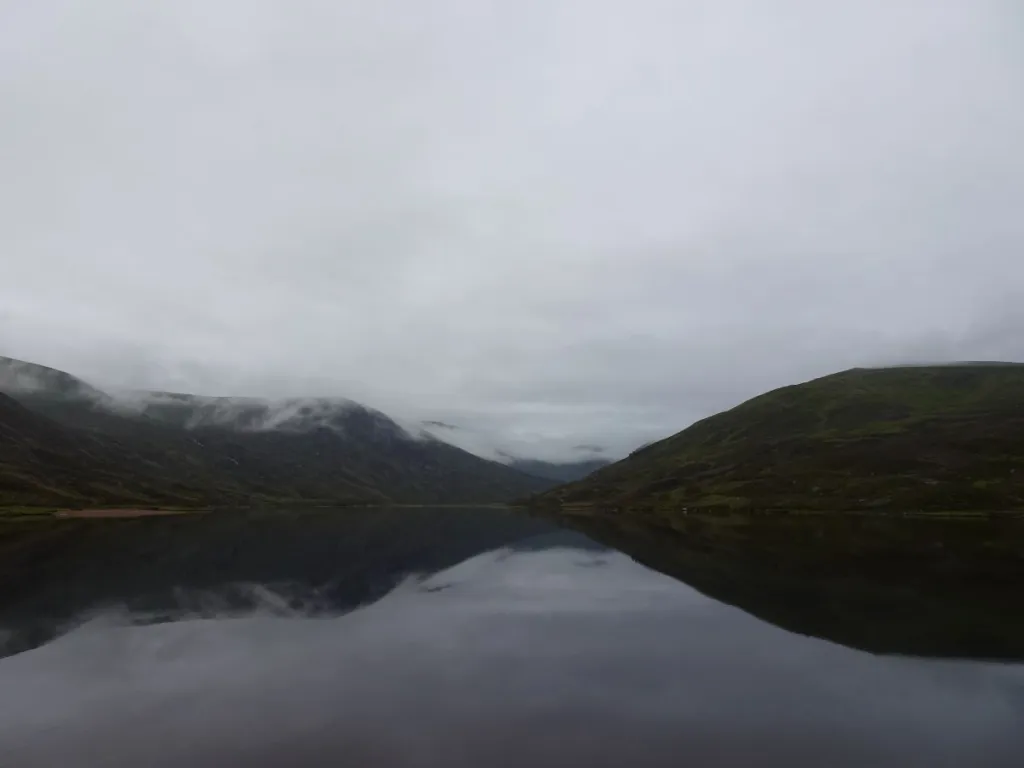
Jock’s Road traced the northern edge of Loch Callater (the left-hand side of the loch in the photo above), before following Allt an Loch up Glen Callater.
At times, the path was less distinct than the map had led us to expect. We crossed Allt an Loch – the water was decidedly chilly even in late July – and then realised we needn’t have done, as Jock’s Road sticks to the left-hand side of the burn.
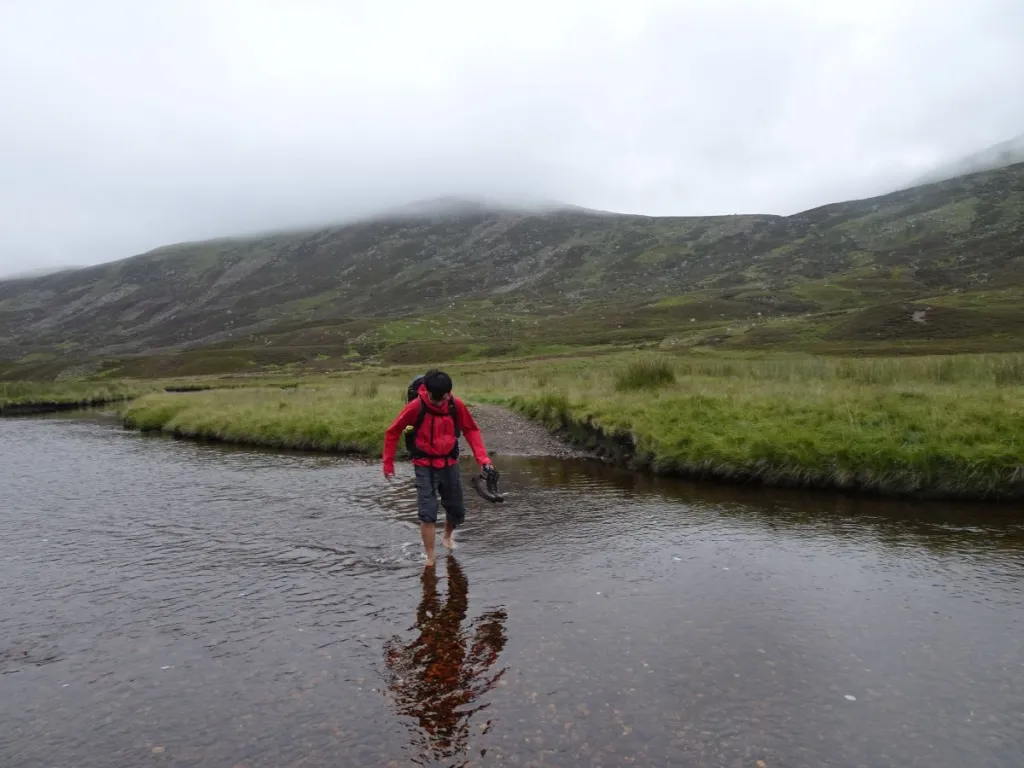
Moral of the story: paper maps still have their place. Had we taken it out of my bag, where it was stashed due to the damp weather, we’d have seen there was no need to cross the burn. All’s well that ends well, though, as the saying goes.
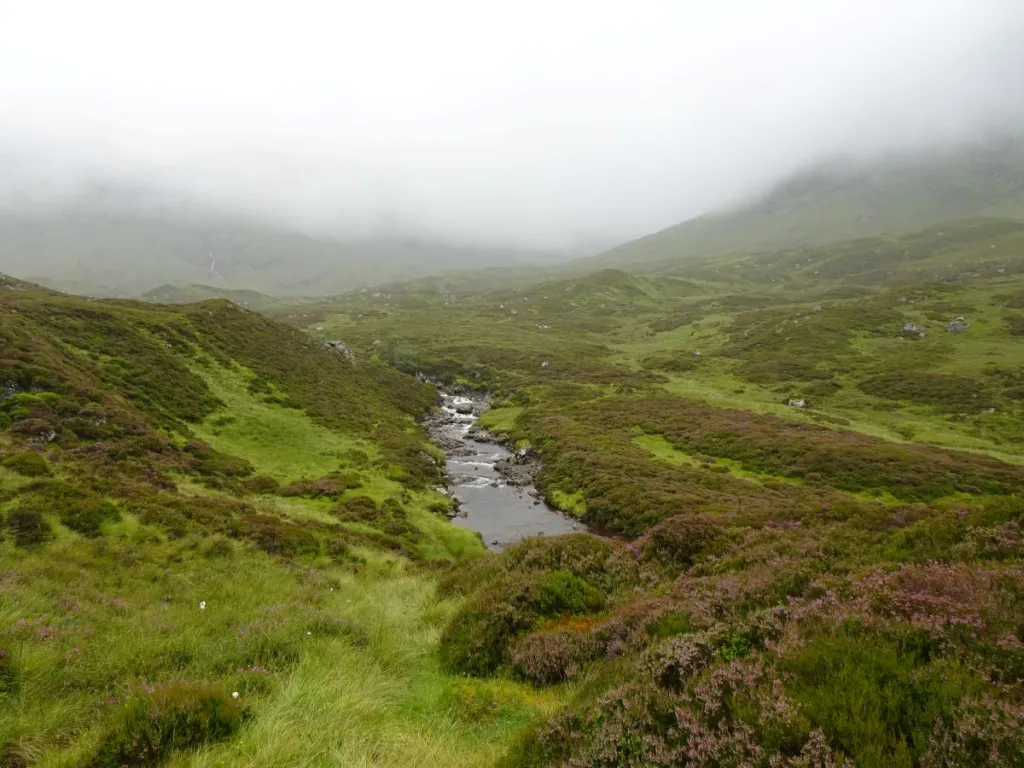
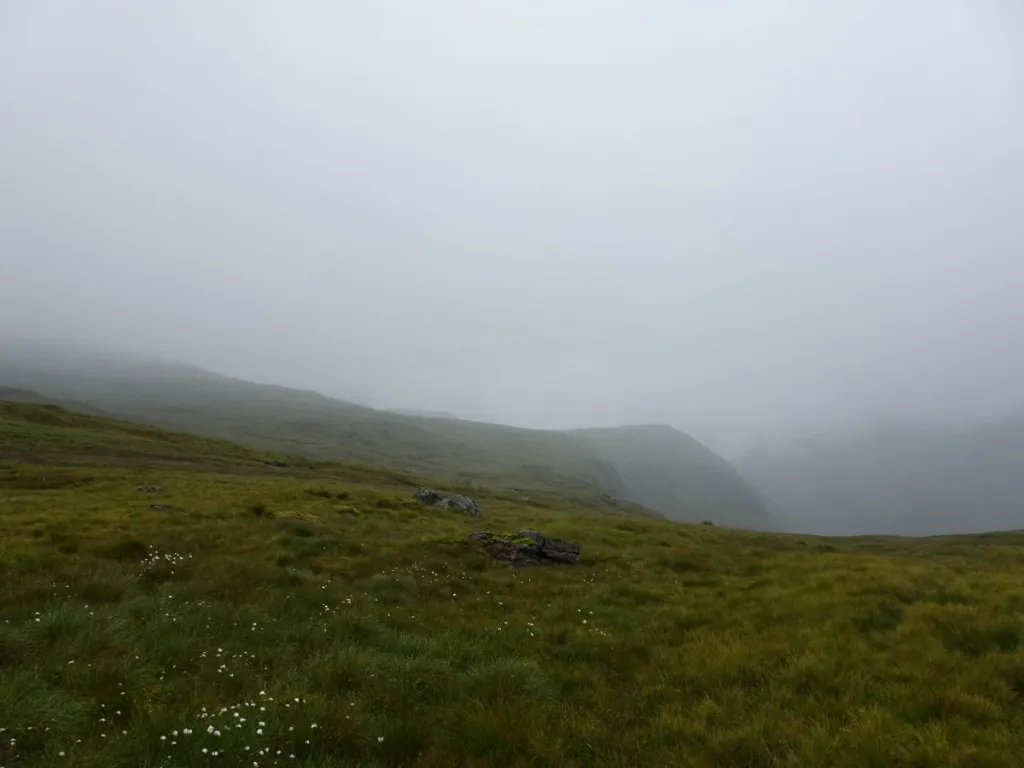
Towards the head of Glen Callater, Jock’s Road began to climb towards the plateau, crossing Allt an Droighnean (no, I don’t have a clue how to pronounce that either. Not for the first time, I’m glad this is a blog and not a vlog).
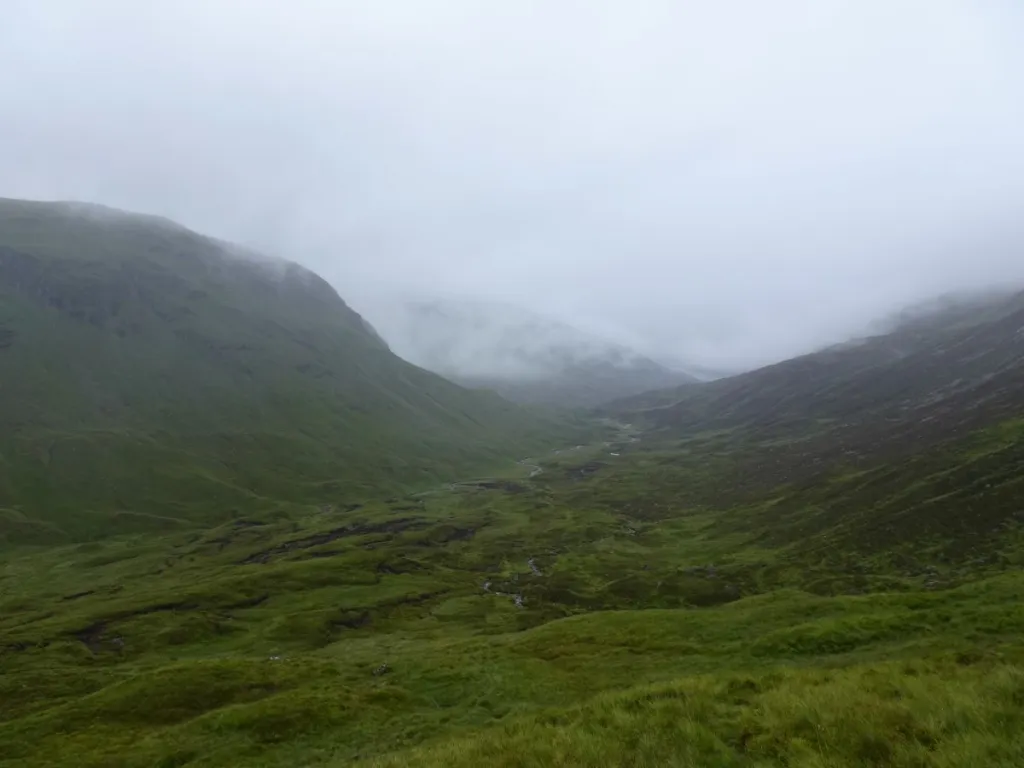
Ahead of us: three deer in the mist.
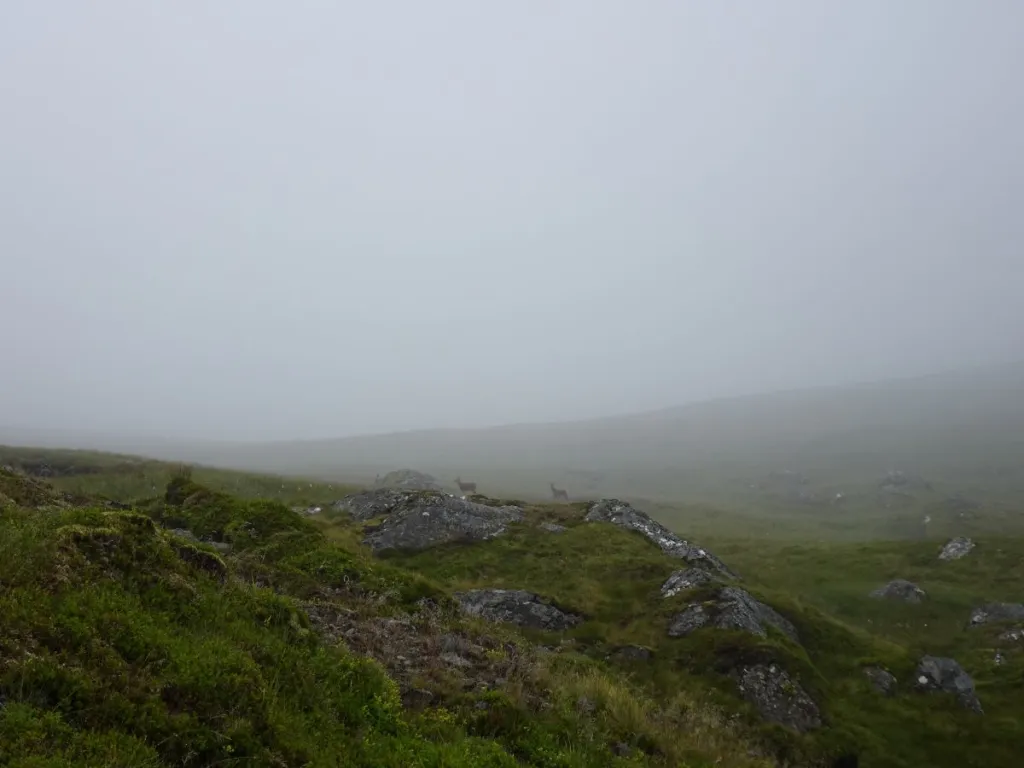
Neither of us had ever seen deer while hiking in the Cairngorms National Park before – and this was just the start of this hike’s deer-fest. Jock’s Road, the path we had been following up to this point, continues towards Glendoll Forest. We therefore veered south-east to reach Tolmount, our first Munro of the day. The time-stamp on the only summit photo I took (below) tells me it took us 2 hours 35 minutes to reach this point.
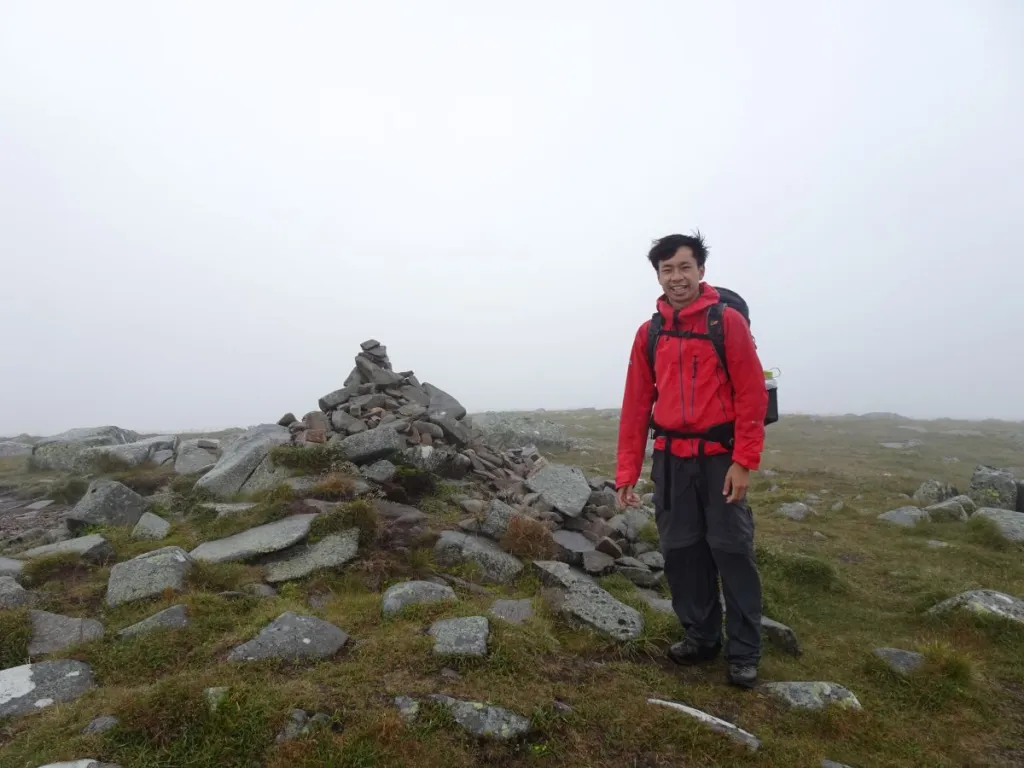
On paper, Tolmount is fractionally higher than Tom Buidhe (958m vs. 957m – there really isn’t much in it), but the topography of this part of the Cairngorms National Park is such that you won’t notice the difference.
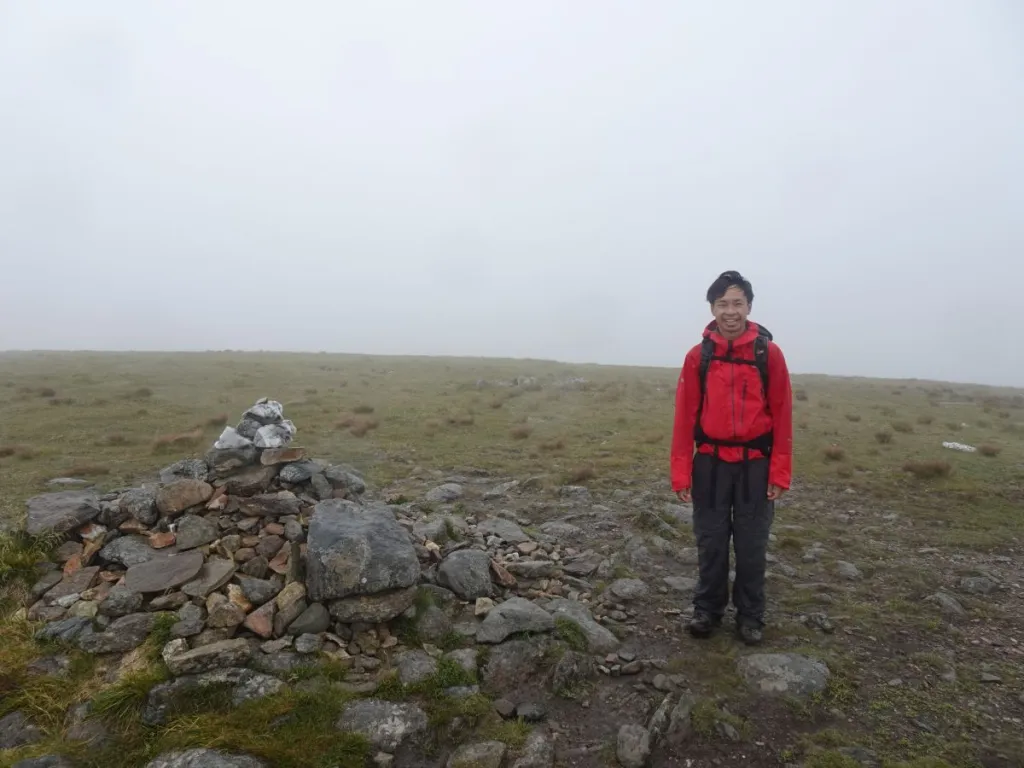
Tom Buidhe lay a little over a kilometre to the south, and delivered a similarly ‘could be anywhere’ view from its summit (below). If I hadn’t written down the order in which we did them, I wouldn’t have been able to tell which summit was which from the photos.
It took us half an hour to cross from Tolmount to Tom Buidhe; there’s good reason the two are usually done together. If you’ve not yet bagged Cairn of Claise or Carn an Tuirc, these could easily be incorporated into this route. We did those a few years ago (along with Glas Maol and Creag Leacach), so retraced our steps towards Tolmount.
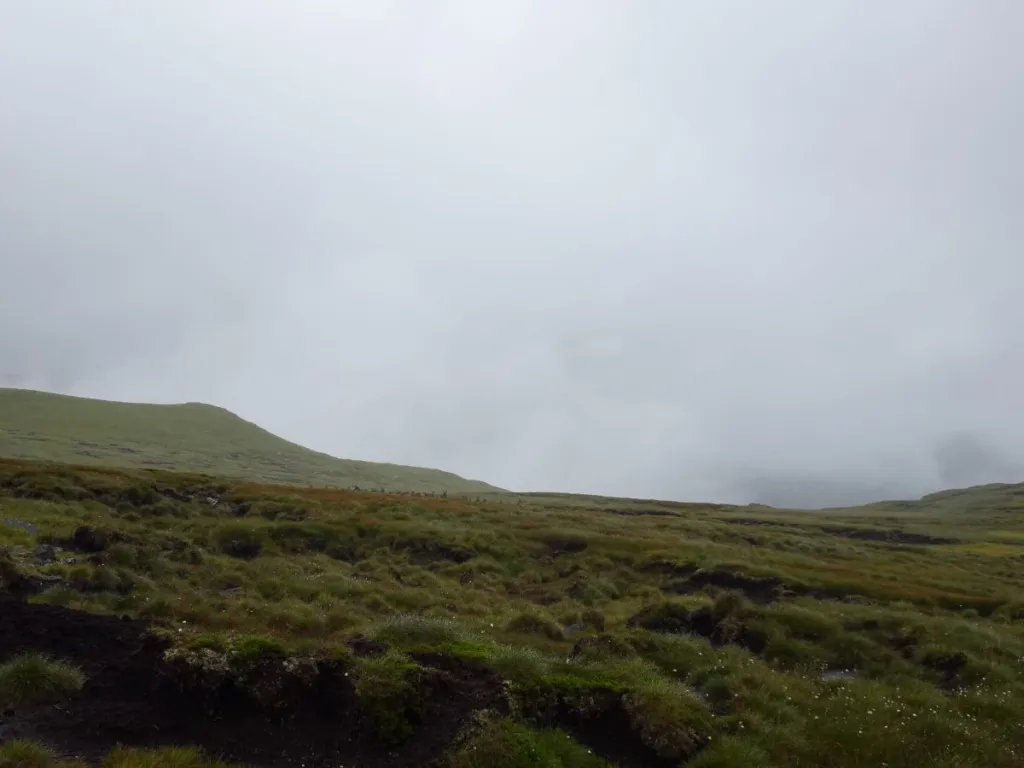
Tolmount and Tom Buidhe sit on a fairly featureless plateau. On a clear day, navigation is unlikely to cause any significant issues. Throw some thick, low-hanging cloud into the mix, though, and you need to take care. It is easy to become disoriented, and easier still to walk closer to the edge of some very steep hillsides than you might realise.
We had thought we were lucky to see three deer. We were in for a real treat as, almost out of nowhere, a sea of antlers appeared in the distance.
We stayed where we were, so as not to startle them. Despite our best efforts, they had clearly clocked us – as you can see in the picture below (fortunately my point-and-shoot’s zoom was up to the task, as there was a decent distance between us and them).
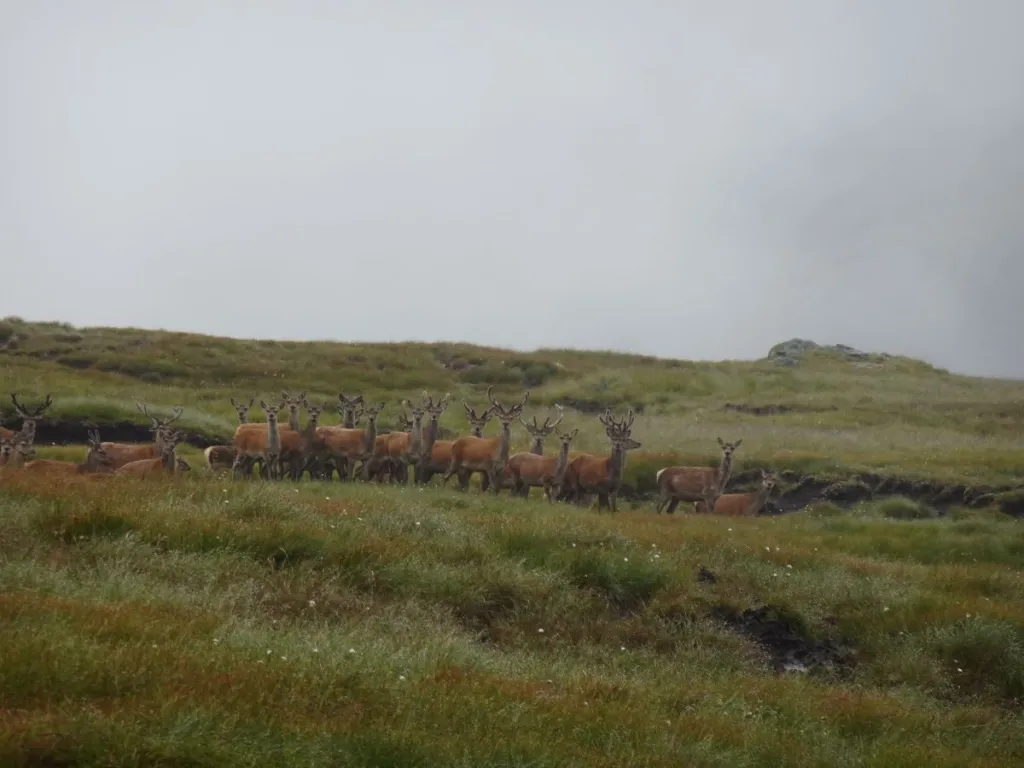
They stuck around long enough for me to take a few photos, and then they took flight across the plateau. If only I could move that quickly across boggy moorland!
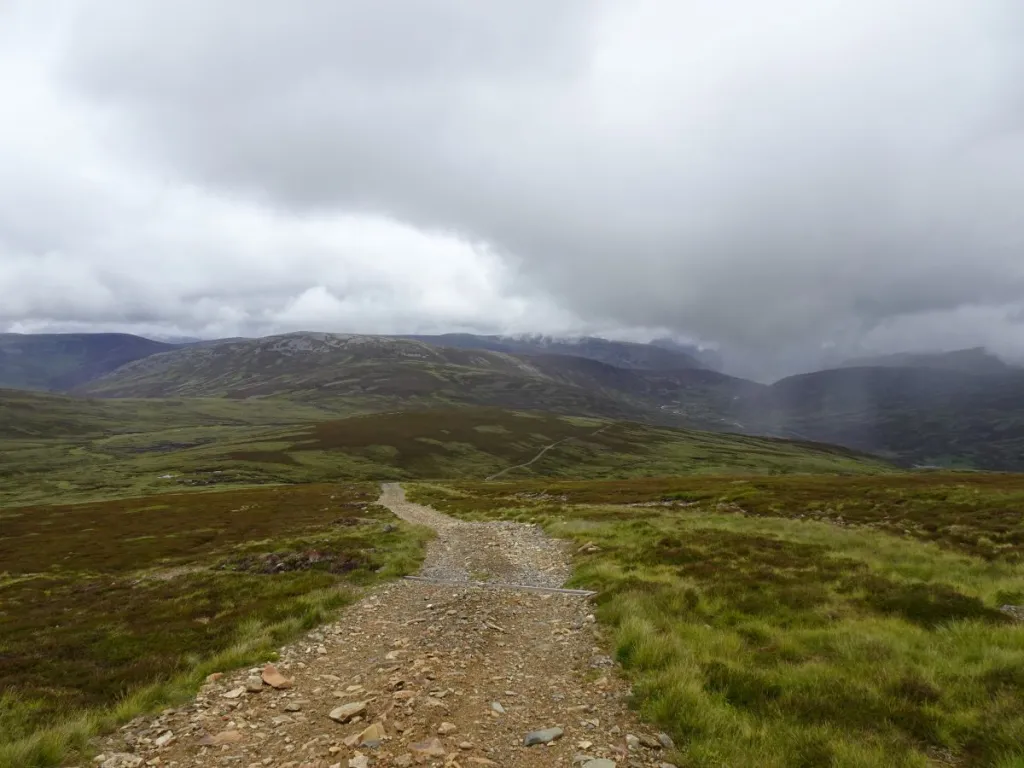
We continued along the edge of the plateau, eventually reaching Coire Loch Kander.
Not long after this, we picked up the gravel track which leads back to Callater Stables, making the descent straightforward, if a little long.
Once safely back at Callater Stables, it was simply a case of following Jock’s Road back to Auchallater for the last 5km.
Before returning to Edinburgh, we detoured into Braemar for some much-needed hot drinks and sweet treats at The Bothy.