Most people waste hours scrolling for the perfect backpacking guide PDF. They find outdated lists, generic itineraries, and ads disguised as advice. The real solution? Build your own. It takes 10 minutes, costs nothing, and matches your exact trip.
Step 1: Why a Generic PDF Fails You
Pre-made backpacking PDFs promise everything. They deliver a one-size-fits-all mess. A guide written for Southeast Asia won’t help you in Patagonia. A packing list for summer ignores altitude cold. You end up deleting half the items and guessing the rest.
The fix is simple: start from scratch with your own template. You control every line. No irrelevant gear. No wrong budgets. Just what you need.
Here’s what a generic PDF usually misses:
- Your specific climate and season — rain gear for Scotland is different than for Thailand
- Your accommodation type — hostel vs. camping vs. guesthouse changes your kit
- Your local transport — buses, trains, or tuk-tuks affect bag weight limits
Building your own PDF solves all three in one go.
What You Actually Need
A blank Google Doc. A spreadsheet for budgets. That’s it. No paid software. No design skills. The goal is function, not beauty.
Step 2: The 3-Page Structure That Works

Every good backpacking guide PDF has three sections. Nothing more. Anything beyond page 3 is noise.
Page 1: The Itinerary — List every stop with dates, travel time, and one key activity per day. Example: “Day 4: Bus from Chiang Mai to Pai (3 hours), visit Pai Canyon at sunset.” Keep it to bullet points. No paragraphs.
Page 2: The Packing List — Divide into four categories: clothing, toiletries, electronics, documents. Use a table with checkboxes. Weight each item. A 40L bag should not exceed 8kg.
Page 3: The Budget — A simple spreadsheet with daily costs. Accommodation, food, transport, activities, misc. Add a 15% buffer for surprises. Example: for a 14-day trip in Vietnam, budget $35/day total. That’s $490 plus $74 buffer.
Tools That Make It Fast
Google Docs works offline on your phone. Google Sheets handles the budget. Both export to PDF in one tap. No extra apps needed.
| Tool | Cost | Best For |
|---|---|---|
| Google Docs | Free | Itinerary & packing list |
| Google Sheets | Free | Budget & expense tracking |
| Notion | Free tier | All-in-one with database |
| Canva | Free (PDF export) | Visual layout (optional) |
Stick with Google Docs and Sheets. They work everywhere, sync instantly, and export clean PDFs.
Step 3: What Most People Get Wrong
Three mistakes kill backpacking PDFs every time. Avoid these and yours will actually get used.
Mistake 1: Overpacking the list. You don’t need three pairs of hiking pants. One pair worn, one packed. That’s it. Every extra item adds weight and decision fatigue. Pack for 7 days, do laundry once a week.
Mistake 2: Forgetting digital backups. A paper PDF gets lost, soaked, or stolen. Save your PDF to Google Drive AND email it to yourself. Also print a physical copy and stash it in your bag’s hidden pocket. Redundancy is free insurance.
Mistake 3: No real-world test. Build your PDF, then walk for 30 minutes with your full pack. Does the list work? Adjust before you leave. A dry run catches everything — too heavy, missing layers, wrong shoes.
Step 4: The 10-Minute Template
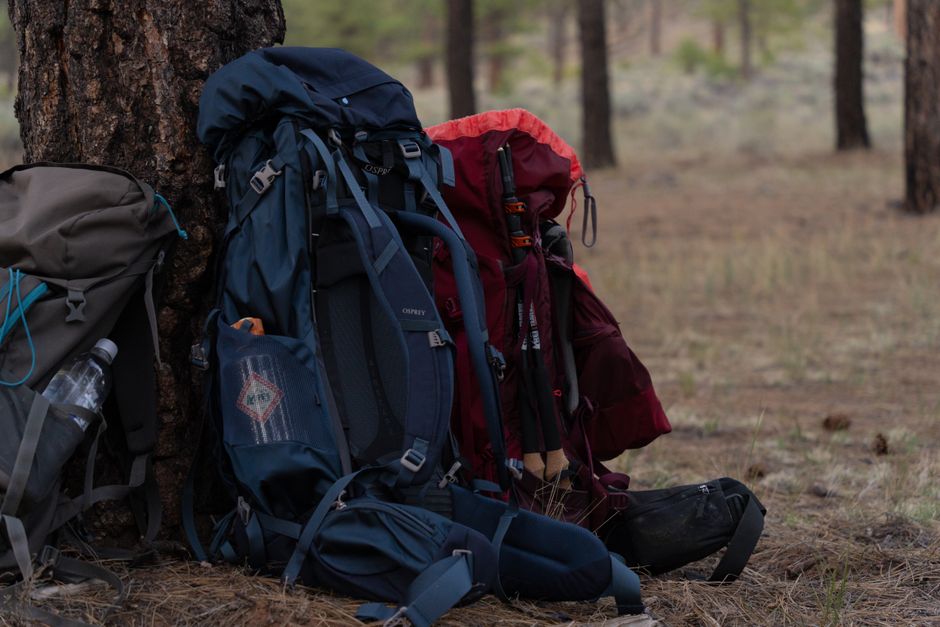
Here is the exact structure I use. Copy it into a Google Doc right now.
- Header: Trip name, dates, destination. One line.
- Itinerary table: Date | Location | Travel time | Activity | Accommodation
- Packing checklist: Category | Item | Weight | Packed? (checkbox)
- Budget sheet: Day | Accommodation | Food | Transport | Activities | Total
- Emergency info: Local emergency number, embassy address, insurance policy number
That’s five elements. Fill them in as you research. Stop when the table is full. Do not add a “notes” section — it becomes a dumping ground for unorganized thoughts.
Export to PDF: File → Download → PDF Document (.pdf). Done.
Step 5: When to Throw Away the PDF
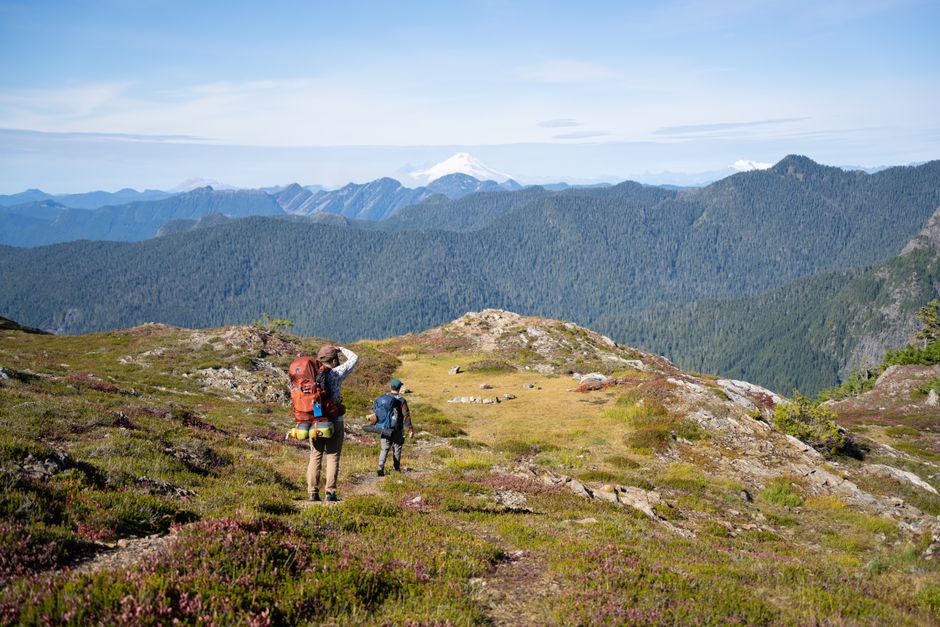
A PDF is a starting point, not a prison. Plans change. Buses break down. You meet people who change your route. The PDF is your baseline, not your master.
I once followed a PDF itinerary so rigidly that I missed a spontaneous boat trip to an island that wasn’t on the list. Stupid. The PDF should free you from planning anxiety, then let you be flexible.
Update your PDF as you go. Add costs you actually paid. Note gear that broke. Mark hostels you’d recommend. By the end of the trip, you have a second version for next time.
If a PDF makes you feel trapped, delete it. Travel without one is better than travel with a bad one. But a good one — built by you, tested, flexible — is the best tool you’ll carry.
Stop searching for the perfect PDF. Build it. It’s faster, cheaper, and actually fits your trip.